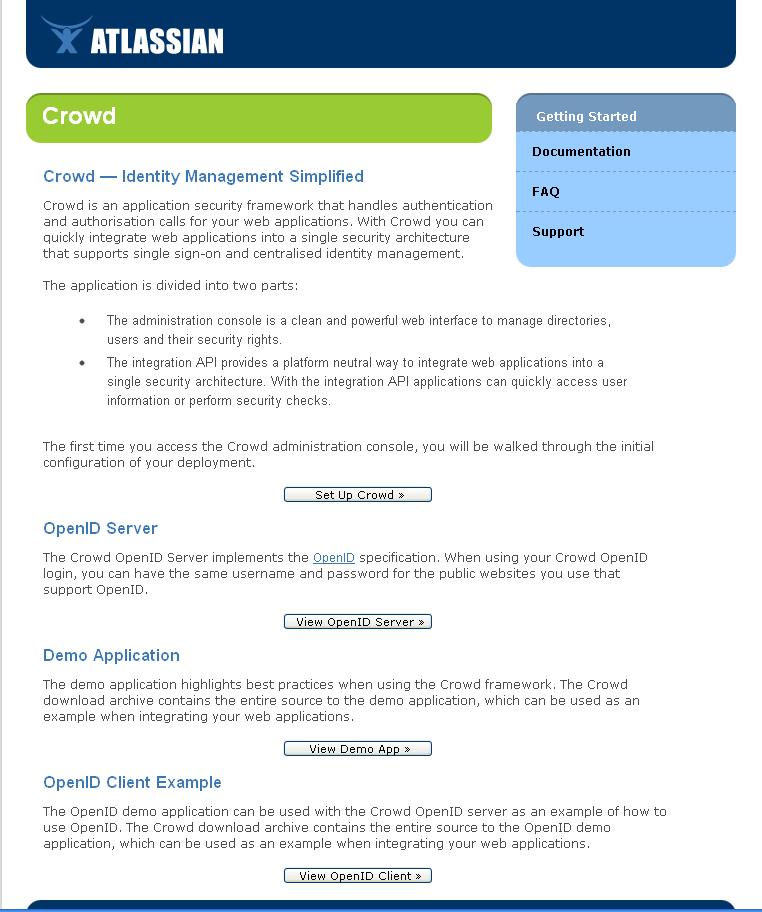
Installation
You can Download Crowd here.
Crowd will be installed using serveradmin
su - serveradmin
After grabbing the tar file with the wget command use the tar command to unpack it
tar -xvpf atlassian-crowd-2.3.2.tar.gz
Define the crowd-home Directory by editing the crowd-init.properties file
Integrating Crowd with Apache
PostgreSQL is needed to start so if you haven't installed it already go to PostgreSQL.
We need to create a database user so change back to your log in because serveradmin cannot use sudo.
First log in to PostgreSQL then: (remember to actually put a password to replace putYourPasswordHere)
CREATE ROLE crowduserdb LOGIN ENCRYPTED PASSWORD 'putYourPasswordHere'
NOINHERIT
VALID UNTIL 'infinity';
COMMENT ON ROLE crowduserdb IS 'Account used by the Confluence application.';
After this is entered you'll see
CREATE ROLE
COMMENT
Create the Database called crowddb
CREATE DATABASE crowddb
WITH ENCODING='UTF8'
OWNER=crowduserdb
CONNECTION LIMIT=-1;
If this was created correctly you should see
CREATE DATABASE
Next we need to create a second database to store the employee id data so this database will be called crowdiddbCREATE DATABASE crowdiddb
CREATE DATABASE crowdiddb
WITH ENCODING='UTF8'
OWNER=crowduserdb
CONNECTION LIMIT=-1;
After everything is completely successfully we exit the Postgresql prompt
\q
Setup JDBC4 Driver and JDK 2.x
First we need to grab the JDK 2.x file and after the JDBC4 Driver file. The JBDC4 Driver file needs to be in the lib folder in apache-tomcat.
So we start by going to the Java SE site and use the wget command to get the file.
sudo apt-get install ia32-libs
su - serveradmin
cd /atlassian-crowd-2.3.2/apache-tomcat/lib/
wget http://jdbc.postgresql.org/download/postgresql-8.4-701.jdbc4.jar
Unpack the JDK2.x file into the atlassian-crowd-2.3.2/apache-tomcat/ and then create a symbolic link to java
chmod u+x jdk-6u27-linux-i586.bin
./jdk-6u27-linux-i586.bin
sudo ln -s ./jdk1.6.0_27 ./java
After we need to edit the startup.sh and shutdown.sh to be only used by serveradmin.
Followed by editing setenv.sh file in the atlassian-crowd-2.3.2/apache-tomcat/bin/ so that JAVA_HOME can be defined.
Make sure to check it works with the version.sh file.
Configuring your Application Server to Connect to PostgreSQL
Using your favorite editor edit the file apache-tomcat/conf/Catalina/localhost/openidserver.xml and customise the username, password, driverClassName and url parameters for the datasource.
<Context path="/openidserver" docBase="../../crowd-openidserver-webapp" debug="0">

<Resource name="jdbc/CrowdIDDS" auth="Container" type="javax.sql.DataSource"
username="[enter db username here]"
password="[enter db password here]"
driverClassName="org.postgresql.Driver"
url="jdbc:postgresql://host:port/crowdiddb" [ see also http://jdbc.postgresql.org/doc.html) ]"
[ delete the minEvictableIdleTimeMillis, timeBetweenEvictionRunsMillis and maxActive params here ]
/>

<Manager className="org.apache.catalina.session.PersistentManager" saveOnRestart="false"/>

</Context>
Because this step is repeated in the final setup of Crowd. This step will be excluded to see if it is necessary.
Delete the minEvictableIdleTimeMillis, timeBetweenEvictionRunsMillis and maxActive attributes. (These are only needed for HSQL database, and degrade performance otherwise.)
Configure CrowdID to use PostgreSQL
Edit the build.properties file located in the root of Crowd, and modify the hibernate.dialect to the following
hibernate.dialect=org.hibernate.dialect.PostgreSQLDialect
Next modify the jdbc.properties file located at: crowd-openidserver-webapp/WEB-INF/classes/jdbc.properties to
# - Crowd Configuration Options

hibernate.connection.datasource=java\:comp/env/jdbc/CrowdIDDS
hibernate.dialect=org.hibernate.dialect.PostgreSQLDialect
hibernate.transaction.factory_class=org.hibernate.transaction.JDBCTransactionFactory
Starting Crowd
Start Crowd with startup.sh and go into your browser and use the server IP with the port 8095(port Crowd uses) if all is well you should see this page. If you cannot hit the page check that you have port 8095 open.
Setup Wizard
1. Start by hitting the Start Crowd button
2. Enter the license key you have bought or generated from starting up an account with Atlassian
3. Click JDBC Connection
- Database: Pick PostgreSQL
Integrating Crowd with Subversion
If you are using Apache to manage access to a subversion repository (instructions), you can use the same configuration method to delegate user authentication to Crowd.
Example:
<Location /svn>

 # Uncomment this to enable the repository,
 DAV svn

 # Set this to the path to your repository
 SVNPath /var/lib/svn

 AuthName crowd
 AuthType Basic

 PerlAuthenHandler Apache::CrowdAuth
 PerlSetVar CrowdAppName subversion
 PerlSetVar CrowdAppPassword svn
 PerlSetVar CrowdSOAPURL http://localhost:8080/crowd/services/SecurityServer

 require valid-user

 # The following three lines allow anonymous read, but make
 # committers authenticate themselves.
 <LimitExcept GET PROPFIND OPTIONS REPORT>
 Require valid-user
 </LimitExcept>

</Location>
References
http://confluence.atlassian.com/display/CROWD/PostgreSQL+for+CrowdID
http://confluence.atlassian.com/display/CROWD011/3.2.1+Integrating+Crowd+with+Apache+or+Subversion